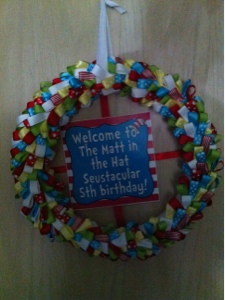
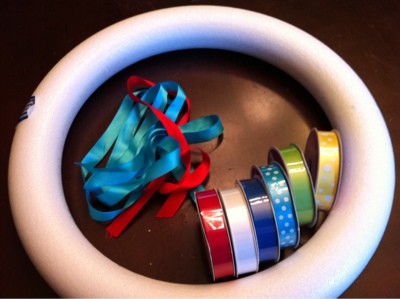
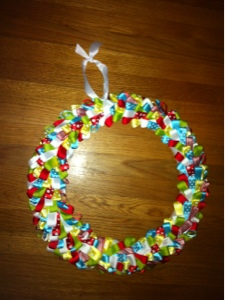
For Matty's Matt in the hat Seusstacular 5th birthday, I wanted to make this awesome ribbon wreath I saw on pinterest! It was so cute and perfect! I started out with a 16 inch foam form I got at at Michaels and a ton of ribbon ( some from the dollar store, Michael's, Joanns and what I had around the house) I also had to use stick pins. I cut the ribbon into approximately 4 inch pieces. Then started sticking them into the form 1 piece at a time making sure not to lay 2 of the same ribbon over each other and also that each layer fell nicely over the last. It was tedious work but very easy! When I was done, I attached the sign I made to the center just like I had for Aaron's wreath! It looks adorable! I took this picture from inside the house since the party isn't until next week so I apologize for the lighting! I'm contemplating adding some seuss stickers I bought for the party but haven't decided whether I will or not. You'll just have to stop by again to find out!!
Wednesday, June 27, 2012
Friday, June 22, 2012
In my zone!!!
I am in such a creative mode right now!!! Doing what I love most!! My little boy Matty is turning 5 in 2 weeks and we are throwing him the most awesome Matt in the Hat Seusstacular party ever!!! I'm rounding up ideas from all over, creating outdoor props galore and in a general obSEUSSion frenzy!!!!! Got any ideas??? Do share!!! And come back soon for more detail and I'm sure pictures galore!!!
Wednesday, June 20, 2012
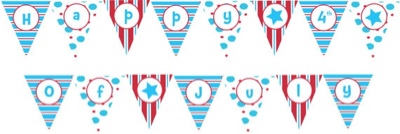
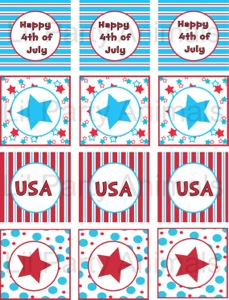
Planning a Star Spangled celebration?
I'm so super excited about my new Star Spangled collection!! It is sure to spice up your 4th of July bbq!!! I can't wait to print it out and use it for my own shindig!
Friday, June 15, 2012
Father's day cupcakes!
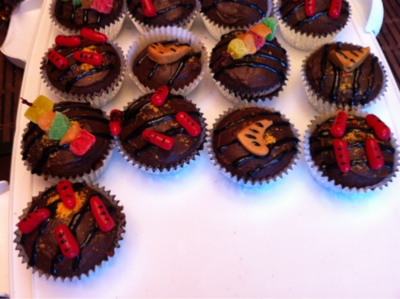
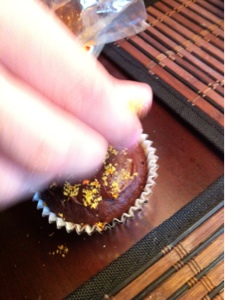
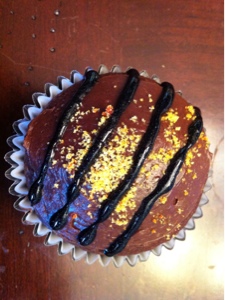
The boys and I decided to make cupcakes for the hubby for father's day! We got this adorable idea from http://familyfun.go.com/recipes/grate-gift-for-dad-888883/ to make these grill ones! We started out with chocolate cupcakes with just a teensy bit of frosting. We sprinkled a touch of orange sugar to them which I made by adding food coloring to a sandwich bag of sugar and shaking it till it was a color I liked.
My son Aaron added grill marks to the hot tamales to make the "hot dogs"
Nicky cut up fruit slices and caramel squares to make the skewers. He poked toothpics through them.
I added the grates with some black icing.
and viola! the cutest grill cupcakes ever! Too much work? You can always make regular cuppies and add these cute toppers: https://www.etsy.com/listing/101473176/diy-printable-fathers-day-cupcake
Wednesday, June 13, 2012
Monday, June 11, 2012
They grow up so fast!!!
Last week my 4 year old Matty graduated from preschool. Today my 2nd born graduated from elementary school. Where in the world has the time gone?? It seems just yesterday Aaron was 8 and toothless holding his new baby brother Matty carefully on the couch. I couldn't be more proud of them! Aaron even received the presidential award for academic achievement! Can you tell I'm beaming?! There really is a celebration in every moment of a child's life! I'm so thankful to get to share these moments 4 times over!
Friday, June 8, 2012
Little Lady dress up party!
As I was creating the little man collection a few months back, I thought about the possibilities of a little lady line. I googled and searched and came up short. I couldn't believe no one had thought of this before! What little girl doesn't love to put on her mommy's heels and hats and play dress up with her friends? I know it was one of my favorite things to do! This is what inspired my little lady collection.
I only have boys, but I imagined this wonderful whimsical tea party with little girls dressed up in big hats and oversized dresses. Strings of "pearls', gloves and heels sitting waiting for their miniature sandwiches to be served with tea or lemonaid. The best part is most of the decorations are most likely sitting in your closet or at your local thrift store! It's days like this I wish I had a little girl! :)
Wednesday, June 6, 2012
Make Dad's day extra special!
Because every dad deserves to know just how much he's loved, I just released a father's day version of the little man party! Dad is sure to love this collection!
It includes a banner, cupcake toppers, water bottle labels and of course Tented food labels! https://www.etsy.com/listing/101473621/diy-printable-fathers-day-package
Tuesday, June 5, 2012
Quick & inexpensive teacher present
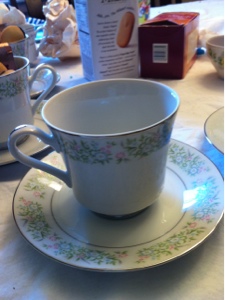
One of my biggest end of the year challenges for me is finding a new, creative teachers gift for each of my children's teachers. It's so hard to find something they aren't going to get 10 of. This year I headed to the thrift store! I found some absolutely gorgeous china for pennies!
I was so excited to bring it home and clean it up! I filled each tea cup with some bags of tea and a few milano cookies. (yummy!) then I wrapped the cup and saucer sets with cellophane I found at the dollar store & added ribbon and a super cute tag I punched that read: "thanks for being a great tea-cher!!!" I made 5 teacher gifts using real fine china for less than $10!!
I was so excited to bring it home and clean it up! I filled each tea cup with some bags of tea and a few milano cookies. (yummy!) then I wrapped the cup and saucer sets with cellophane I found at the dollar store & added ribbon and a super cute tag I punched that read: "thanks for being a great tea-cher!!!" I made 5 teacher gifts using real fine china for less than $10!!
Sunday, June 3, 2012
The Big Splashdown!
Yesterday we finally had our party! It was so much fun! We didn't get alot of pictures from the chaos because there was so much water flying around, we were afraid to get the camera wet. Here are some of the pictures of the decorations!
This is the wreath from the previous tutorial. It was a big conversation starter!
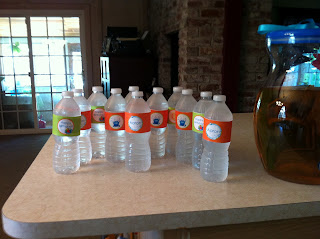
The kids were amazed by the water bottle labels.
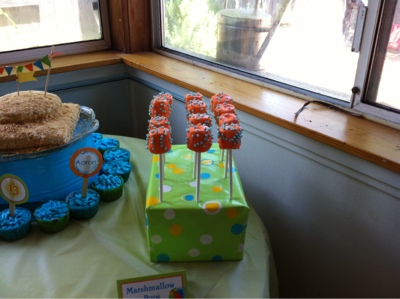
So I've decided to stick to marshmallow pops and cupcakes. The beach ball cookies were so much harder than I expected. They were still yummy though and the boys ate them up quick!
The sand castle cake my son requested. So easy! It had crushed graham crackers for sand! We made a little cupcake moat to go around the bottom.
In the end, my backyard was drenched, the snacks were all gone and Aaron was the happiest 13 year old in town! Huge success! Time to start planning the next party! 4 weeks and counting!
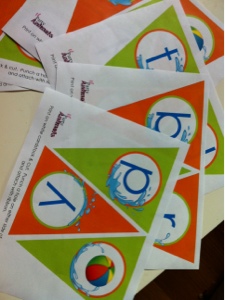
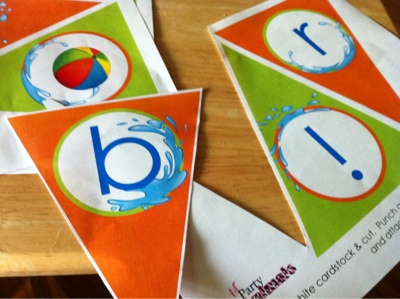
How to assemble your printable banner
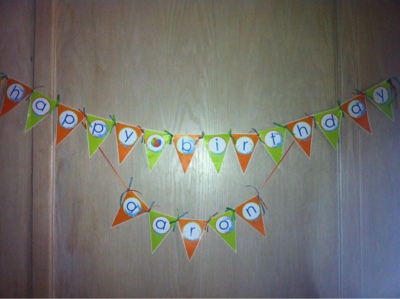
Putting together your DIY printable banner is so simple! First you need to print out the banner. Cardstock works best but any paper will do. Cut out all of your pendants and lay them out in order for faster assembly. Punch holes on either side of each pendant. If you decide to use regular printer paper, I recommend reinforcing the edges with tape before you punch your holes. Attach each pendant to the next using ribbon. Now all that's left to do is hang it! Your guests will think you spent hours assembling this masterpiece!
This banner is available at https://www.etsy.com/listing/99658583/diy-pool-party-banner
How to make an inexpensive cake pop holder!
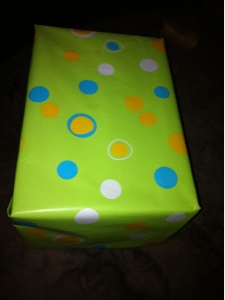
Once I made the marshmallow box, I needed a way to display them so I used an old box and covered it with wrapping paper
that matched our theme. This is a great inexpensive way to display your goodies. Once the box was wrapped, my hubby drilled 12 holes into the top making sure they were evenly spaced and had enough room for each pop to sit. Once the holes are drilled, the pops can be placed and enjoyed!
that matched our theme. This is a great inexpensive way to display your goodies. Once the box was wrapped, my hubby drilled 12 holes into the top making sure they were evenly spaced and had enough room for each pop to sit. Once the holes are drilled, the pops can be placed and enjoyed!
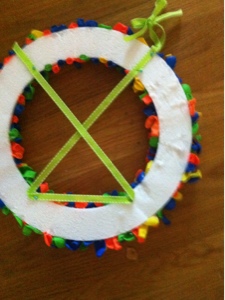
Completed water balloon wreath
I finished the wreath by adding ribbon to hang it with and to attach the welcome sign! It came out exactly how I had imagined it...actually better! The welcome sign can be purchased at https://www.etsy.com/listing/99694060/diy-printable-pool-party-welcome-sign
Friday, June 1, 2012
Marshmallow pop tutorial
In preparation of my son's party, I'm making marshmallow pops! They're just as cute as cake pops but so much easier to make!
Supplies you need:
*marshmallows! The big ones!
*Wilton candy melts. They come in all kinds of great colors so your sure to find them in your party colors! I bought mine at Joann's. Michael's carries them too and they have different colors than Joann's. Go figure.
*Wilton cookie pop sticks. Again, pick those up at Joann's, Michael's or even Walmart!
*wax paper
*sprinkles for decorating the pops
Directions:
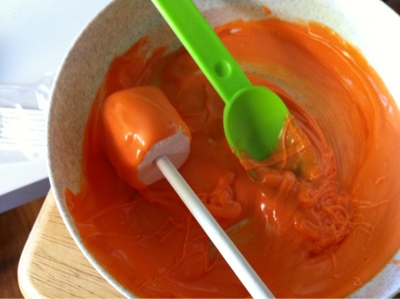
First lay down a sheet of wax paper on to your work space. Place your desired amount of mallows onto the sheet. Next your going to want to melt your candy. Follow the directions on the package. I melted these in the microwave for only 1 minute. Keep in mind all microwaves are different! Make sure you stir the candy after to a smooth consistency.
Now your going to take your pop sticks and dip just the very tip into the melts and then push that tip into the mallow. This will keep them from falling off the stick when you dip them!
Now your ready to start dipping! Make sure you roll them around in the candy till completely covered. I tapped the excess off. Now comes the fun part! Bring on the sprinkles! You wanna put them on before the candy hardens! I do 1 at a time. Dip, sprinkle, place on wax, and then do the next one! Once you have completed all your mallows, put them in the fridge to harden
How cute are these?! I'm making a super cute..and cheap stand for them too! Check back soon for that tutorial!
Supplies you need:
*marshmallows! The big ones!
*Wilton candy melts. They come in all kinds of great colors so your sure to find them in your party colors! I bought mine at Joann's. Michael's carries them too and they have different colors than Joann's. Go figure.
*Wilton cookie pop sticks. Again, pick those up at Joann's, Michael's or even Walmart!
*wax paper
*sprinkles for decorating the pops
Directions:
First lay down a sheet of wax paper on to your work space. Place your desired amount of mallows onto the sheet. Next your going to want to melt your candy. Follow the directions on the package. I melted these in the microwave for only 1 minute. Keep in mind all microwaves are different! Make sure you stir the candy after to a smooth consistency.
Now your going to take your pop sticks and dip just the very tip into the melts and then push that tip into the mallow. This will keep them from falling off the stick when you dip them!
Now your ready to start dipping! Make sure you roll them around in the candy till completely covered. I tapped the excess off. Now comes the fun part! Bring on the sprinkles! You wanna put them on before the candy hardens! I do 1 at a time. Dip, sprinkle, place on wax, and then do the next one! Once you have completed all your mallows, put them in the fridge to harden
Subscribe to:
Posts (Atom)
